Do you have an ecommerce website hosted on WordPress and that uses WooCommerce? Easily integrate your website and your iCount system, for both clearing and document handling!

Clearing for WooCommerce

We get it. You want your customers to have a seamless buying experience. So do we! And we hear you. Clearing the Woo Commerce system has always been a problem… 


 iCount solves this problem easily: connect to one of the payment providers we support here [link]gateway integration[/link] and our Woocommerce Plugin will allow payment!

How Does it Work?

Once you purchase our WooCommerce Plugin, we automatically create a clearing transactions page for you. Your customer will be directly transferred from your WooCommerce checkout page to iCount payment page each time they select “credit card payment.” Once they pay, WooCommerce will update on your end that the payment has been made and the transaction has been approved.

Invoices and Receipts from Purchases

iCount’s system automatically generates receipts that are automatically stored in your records and sent to your customer’s email address as soon as you receive payment approval from your customer’s credit card company.

How Do I Install WOO Commerce?

First,  purchase the iCount WooCommerce plugin by following the following steps: System->Settings->eCommerce->WooCommerce. Note the plugin is specifically tailored to integrate with WooCommerce and WooCommerce only. Additionally, all existing licenses for other websites will  additionally appear on a list in the WooCommerce tab.

Click on the green button and a small window will pop up, with the payment details and your website domain. Fill in the domain name in full to avoid errors and confusion. Press “Go!” and voila! You have successfully purchased your plugin. 

Once the download has finished, load the plugin (zip file) into your WordPress interface.
In your WordPress admin backend, click on plugins-> Add new-> to navigate to the “upload plugin” option as demonstrated below:

Once you select the “Upload Plugin” button, browse for the zip file of the plugin and upload it to your site. At the end of upload and installation process, make sure to click “Activate Plugin” in your installed plugin list.

If you would like to view the different plug in setting, click through the settings page as demonstrated above. 

The settings of the iCount plugin should be as follows:

  • Enable iCount Payment Gateway – select
  • iCount Environment – production (unless you are advised differently by the support team)
  • Do not activate “Enable Test Mode” (unless you are advised differently by the support team)
  • Do not activate “Logging” (unless you are advised differently by the support team)


In minutes you should be up and running, saving you time and money by replacing the need for manual payment charging and creating documents for each purchase.

Our selected features
ecommerce-icon

Automatic production of documents

recurring-icon

through credit or bank account

cc-icon

Setting up and/or connecting a credit card terminal

crm-icon

Management of customers, employees and tasks

feature-icon

Cash register for your physical store

project-icon

control the budget of each project

time-icon

Your time is translated into an invoice

inventory-icon

Know exactly what you have in store, digital or physical, at any moment.

expenses-icon

Record business expenses easily

nags-icon

Customer payment reminders

API-icon

Connect our system to yours

You might be interested
clients-icon

Our recommendation for your business

ecomm-icon

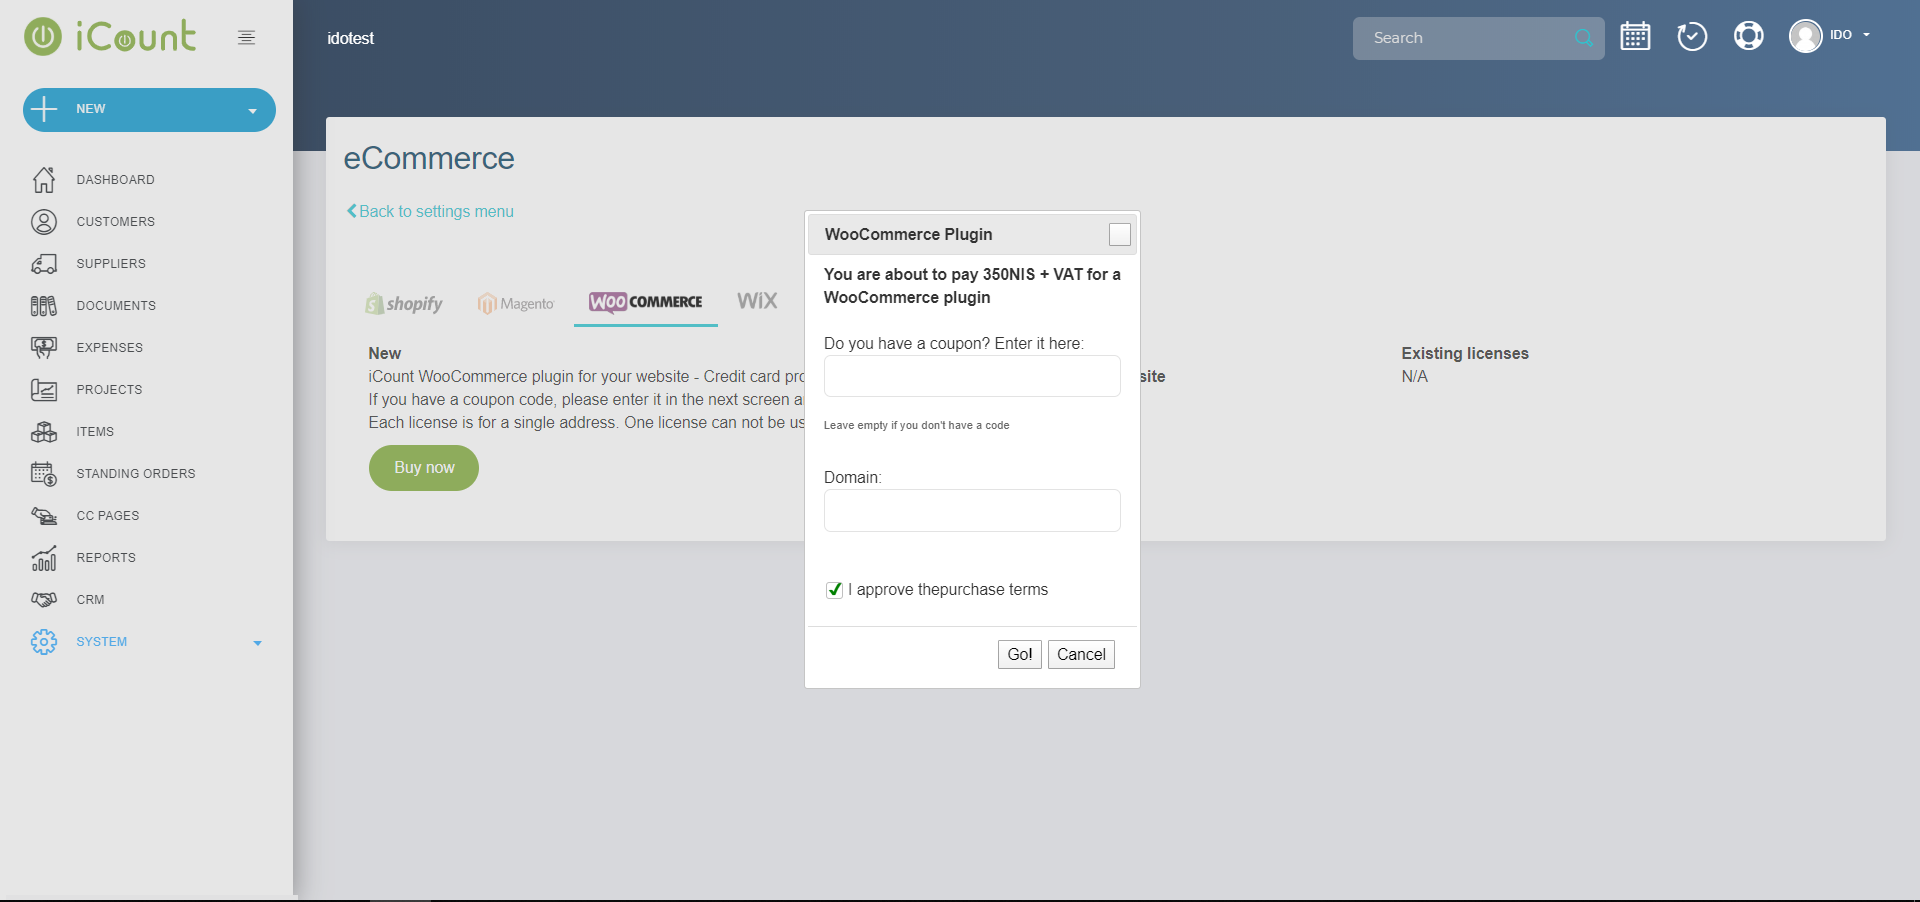
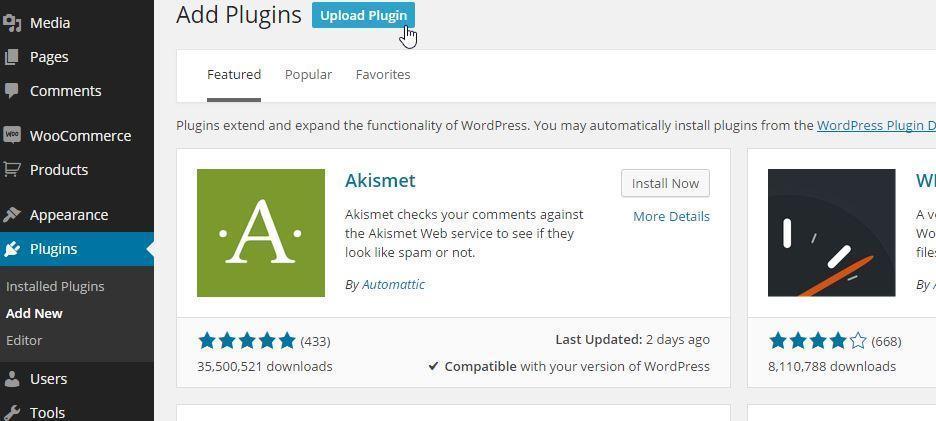
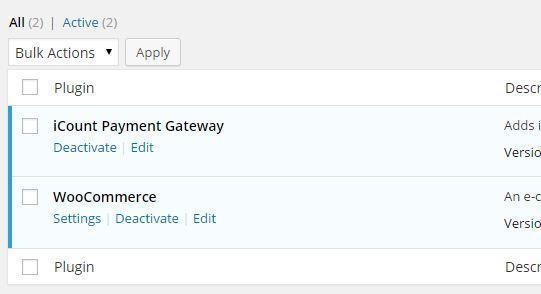
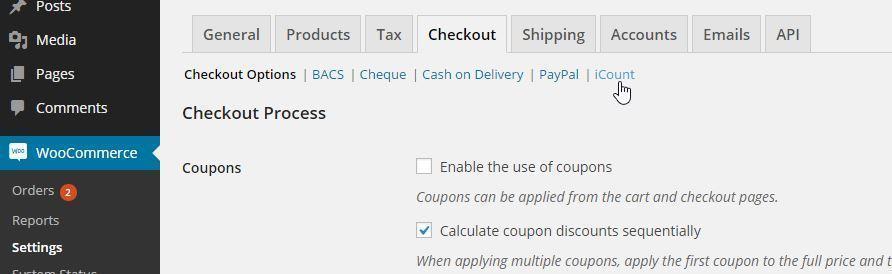
Ecommerce and selling products

iCount-app-icon

iCount

iPhone | Android

iCount-timeapp-icon

iCount Time

iPhone | Android

iCount-appPOS-icon

iCount POS

iPhone | Android

Hey there friend from another land,
Noticed you're tuning in from Israel.
Would you like to switch to our local Israeli site?